
Composting at Home: Turning Kitchen Scraps into Garden Gold

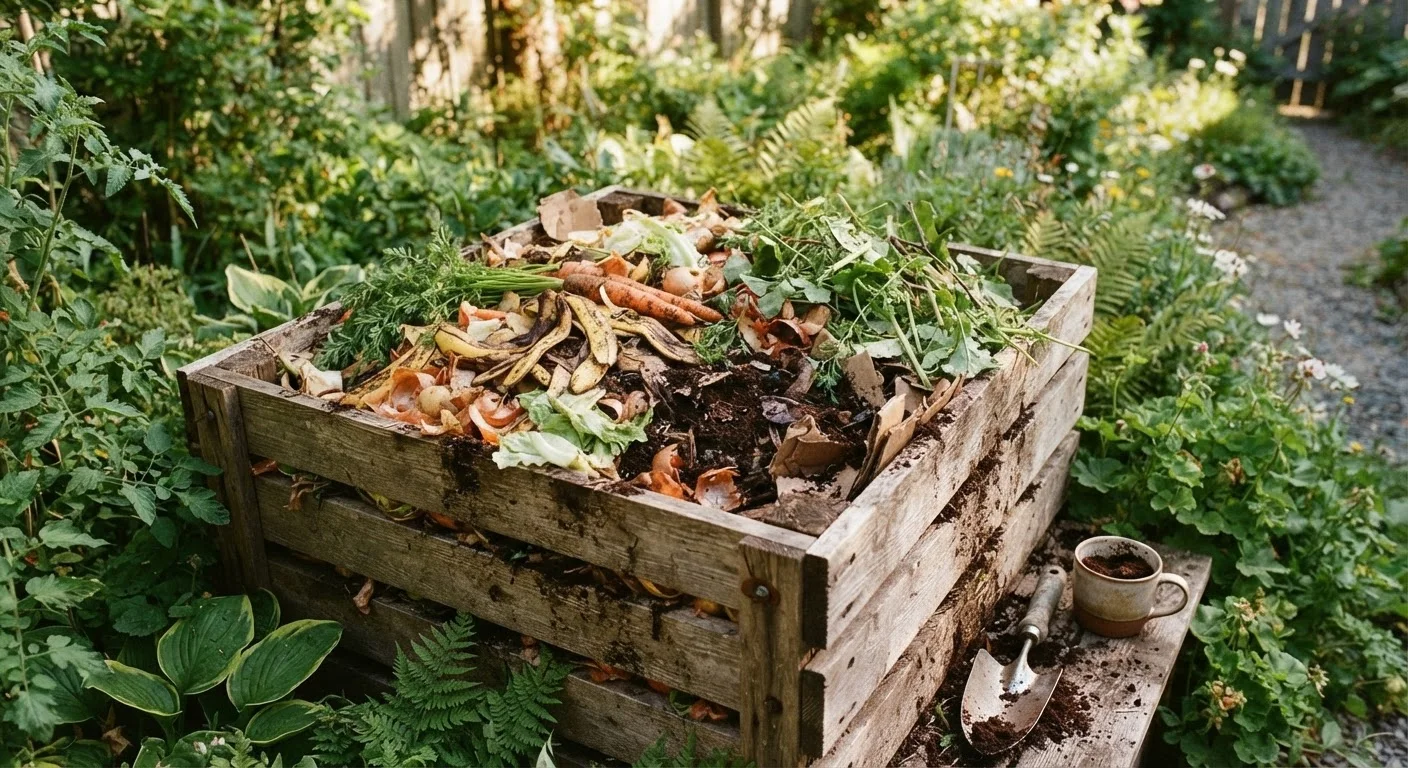
Photo: FaqsBay.com | Trending Blogs, Top Genres editorial
Key Takeaways
- Successful composting requires balancing carbon-rich 'browns' with nitrogen-rich 'greens' in roughly a 3:1 ratio.
- Moisture, aeration, and particle size are the three variables most within your control.
- Finished compost typically takes two to six months depending on conditions and management effort.
- Meat, dairy, and oily foods should be kept out of a standard backyard pile to avoid pests and odors.
- Finished compost improves soil structure, water retention, and microbial activity across garden beds and lawns.
Why Composting Deserves a Place in Every Yard
Composting is one of the most cost-effective habits a homeowner can adopt. Rather than buying bags of amendment every season, you recycle what your household already produces — vegetable peelings, coffee grounds, cardboard, and fallen leaves — into a material that genuinely improves the soil it touches. Finished compost adds organic matter that binds sandy soils together, loosens clay soils, and feeds the microbial communities that make nutrients available to plant roots.
The benefits extend beyond individual beds. Lawns topdressed with a thin layer of compost recover faster from stress and require less supplemental fertilizer over time. If you're starting a vegetable garden from scratch, incorporating compost into your native soil before planting is one of the highest-leverage moves you can make in that first season. And because compost improves water retention, it pairs naturally with good mulching practices to reduce the overall irrigation your beds need.
Compost bin or tumbler
Contains the pile, retains heat, and keeps wildlife out during decomposition.
Garden fork or compost aerator
Turns and aerates the pile to introduce oxygen and speed decomposition.
Kitchen compost pail with lid
Collects daily food scraps on the counter until you're ready to transfer them outside.
Moisture meter or spray bottle
Helps you monitor and adjust pile moisture to the ideal damp-sponge level.
Carbon-nitrogen ratio reference card
A quick reference for categorizing materials as browns or greens when building the pile.
Getting Started: What You Need Before You Begin
Home composting doesn't require a large yard or expensive equipment. The essentials are a containment vessel, a reliable stream of compostable materials, and a basic understanding of what drives decomposition — moisture, oxygen, and the balance between carbon and nitrogen. Before you pile anything together, review what you need on hand.
What you will need
Keep Pests Out of Your Pile
Step-by-Step: Building and Managing Your Compost Pile
Follow these steps in order when starting your first pile. Once you understand how the process works, you'll be able to adjust based on what you observe rather than following a strict formula.
Choose and set up your composting vessel
Select a spot that gets partial sun, drains well, and is reasonably accessible from both your kitchen door and your garden beds. A standard open-wire or slatted-wood bin (roughly 3 × 3 × 3 feet) is the minimum size needed to generate and retain the heat that drives decomposition. Tumblers are a popular alternative — they're sealed, pest-resistant, and easier to turn. Place your bin directly on soil or grass rather than concrete so earthworms and soil microbes can migrate in from below.
Collect and sort your compostable materials
Compostable materials fall into two categories:
- Greens (nitrogen-rich): Fruit and vegetable scraps, coffee grounds and paper filters, tea bags (remove staples), fresh grass clippings, and plant trimmings.
- Browns (carbon-rich): Dry leaves, cardboard torn into small pieces, newspaper, paper towel rolls, straw, and dry garden stalks.
Aim for roughly three parts browns to one part greens by volume. Too many greens produce a slimy, foul-smelling pile; too many browns result in a pile that barely decomposes.
Build the initial pile in layers
Start with a 4–6 inch base layer of coarse browns — wood chips, shredded cardboard, or dry leaves — to allow airflow from below. Alternate between green and brown layers, keeping each 2–4 inches thick. After every two or three layers, add a thin layer of finished compost or garden soil to introduce microbial life. Finish the pile with a brown layer on top to reduce odors and deter flies.
Manage moisture and aeration
The pile should feel like a wrung-out sponge — moist throughout but not dripping. During dry spells, water the pile lightly. If it smells like ammonia or feels soggy, add more browns and turn it to introduce air. Turn the pile every one to two weeks using a garden fork, moving outer material to the center where temperatures are highest. More frequent turning accelerates decomposition significantly.
Troubleshoot common problems
Most compost problems have straightforward fixes:
- Bad odor: Add browns, turn to aerate, and check that no prohibited materials (meat, dairy) were added.
- Pile not heating up: The mix may be too dry or too carbon-heavy — add greens and water, then turn.
- Fruit flies: Bury fresh scraps under browns rather than leaving them exposed on top.
- Slow decomposition: Chop or shred materials smaller before adding — surface area drives microbial activity.
Harvest and apply finished compost
Finished compost looks dark brown, smells earthy (like forest floor), and no longer resembles any of its original ingredients. This stage typically arrives two to six months after starting the pile, depending on management intensity. Stop adding new material and allow the pile to cure for two to four additional weeks before use. Apply two to three inches across garden beds, work it lightly into the top layer of soil, or blend it into potting mixes at a ratio of about one part compost to three parts existing medium.
Speed Things Up with a Compost Activator
Putting Finished Compost to Work
Once you have a steady supply of finished compost, the ways to use it multiply quickly. Work it into vegetable beds each season to rebuild organic matter depleted by growing crops. Side-dress established perennials in spring and fall. Mix it into potting containers to reduce the need for synthetic fertilizers. Even a modest compost operation producing a few cubic feet per season can make a meaningful difference in soil quality over several years.
If your garden also relies on companion planting strategies, healthy, biologically active soil produced by regular compost applications creates a more hospitable environment for the beneficial insects those pairings attract — see our guide to companion planting for vegetables for more on that approach. Likewise, homeowners focused on lawn care will find compost topdressing a useful complement to the broader strategies outlined in our complete lawn care reference.
Avoid Diseased Plants and Treated Clippings
The content provided on our blog site traverses numerous categories, offering readers valuable and practical information. Readers can use the editorial team’s research and data to gain more insights into their topics of interest. However, they are requested not to treat the articles as conclusive. The website team cannot be held responsible for differences in data or inaccuracies found across other platforms. Please also note that the site might also miss out on various schemes and offers available that the readers may find more beneficial than the ones we cover.