
Painting a Room the Right Way: Surface Prep, Priming, and Application in the Correct Order

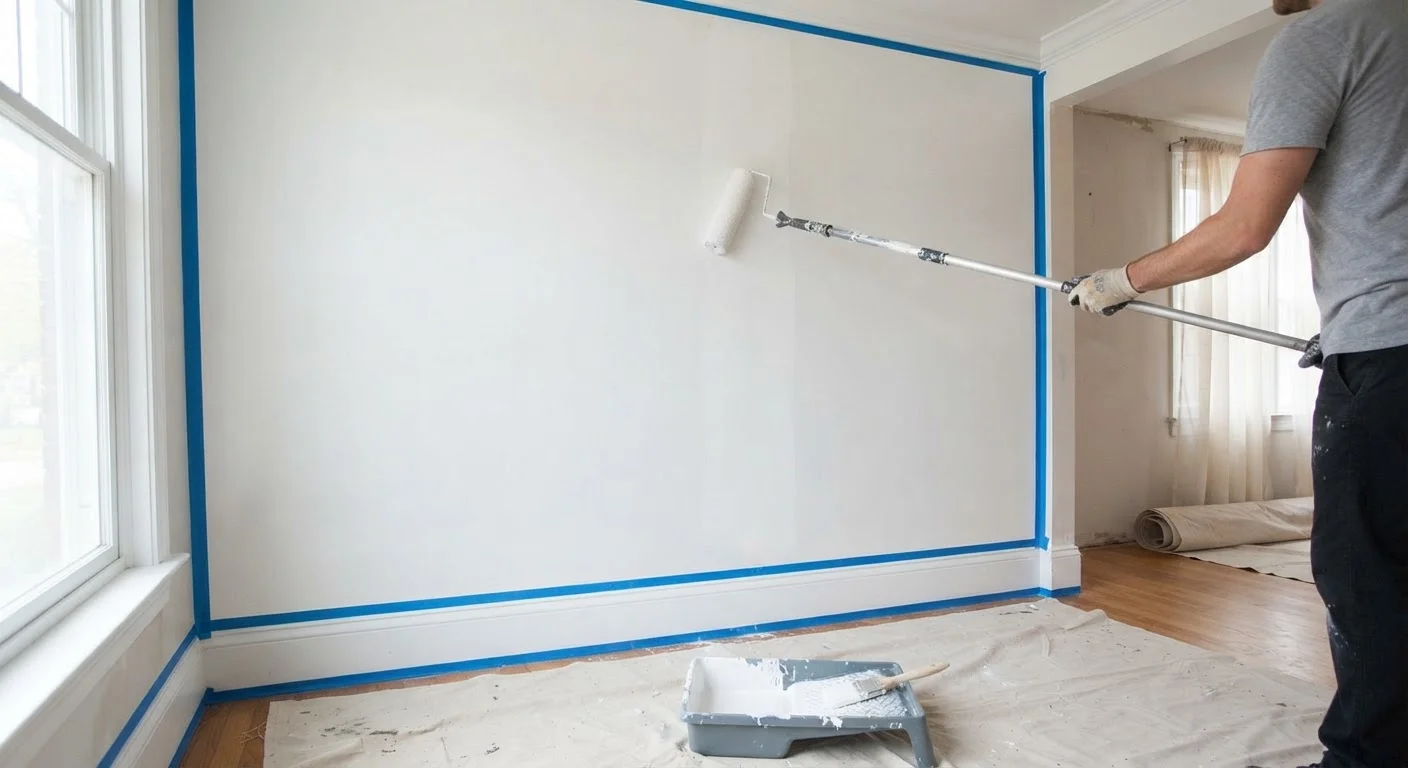
Photo: FaqsBay.com | Trending Blogs, Top Genres editorial
Key Takeaways
- Surface preparation—cleaning, sanding, and patching—determines how long paint actually adheres.
- Priming is not optional: it seals surfaces, covers stains, and creates a uniform base for color.
- Cutting in before rolling, then working wet-edge to wet-edge, prevents visible lap marks.
- Two thin coats of paint outperform one thick coat for coverage, durability, and a smoother finish.
- Skipping steps to save time almost always results in visible flaws and early repainting.
Why Order of Operations Matters in Painting
A paint job looks simple from the outside—roll on color, let it dry, done. In practice, what happens before the paint can opens makes or breaks the final result. Peeling, bubbling, roller texture showing through, and uneven sheen are almost always prep failures, not paint failures. The sequence matters because each stage creates the conditions for the next one to succeed.
This guide walks through each step in the order you should actually do it: surface prep, patching, priming, and application. Follow this order and even first-time painters can achieve results that look professional and hold up over time. For a broader look at sequencing work correctly in renovation projects, see our guide on renovation sequencing.
Stage 1: Surface Preparation
Clean walls are not optional. Dust, grease, and residue from cooking or cleaning products prevent paint from bonding properly. Wash walls with a mild detergent solution and a sponge, working from the bottom up to prevent streaks. Let surfaces dry completely before moving on—moisture trapped under paint leads to bubbles and mold.
Next, sand any glossy or previously painted surfaces lightly with 120–150 grit sandpaper. Paint struggles to grip slick surfaces, so scuffing them up gives the new coat something to hold onto. Wipe away all sanding dust with a damp cloth or tack cloth before you do anything else.
Remove Hardware Before You Start
Remove all outlet covers, switch plates, and light fixtures before you begin. Painting around hardware almost always results in visible brush marks and paint bleed onto the fixtures themselves.
Stage 2: Patching and Repairs
Inspect every wall surface carefully in raking light—hold a work light at a low angle to reveal dents, nail holes, cracks, and uneven texture that ordinary overhead lighting hides. Fill nail holes and small dings with lightweight spackle using a putty knife, pressing the compound in firmly and feathering the edges flat. For larger cracks or damaged drywall sections, use a setting-type joint compound, which shrinks less and dries harder.
Allow all patching material to dry fully, then sand smooth with 120 grit and feather the edges to blend with the surrounding wall. It often takes two passes—apply, dry, sand, check, repeat. Skipping this produces shadows and bumps visible under any sheen level, especially satin or semi-gloss finishes.
Setting Compound vs. Drying Compound
Stage 3: Priming
Primer is not thinned paint. It is a dedicated bonding coat formulated to seal porous surfaces, lock in stains, and create a chemically consistent base so finish paint adheres evenly. You need primer in several situations: fresh drywall or plaster, patched areas (which are more porous than the surrounding wall), surfaces with water stains or smoke damage, and when making a dramatic color change.
Apply primer with the same tools you plan to use for the finish coat—cut in along edges with a brush, then roll the field. One coat of primer is usually sufficient for properly prepared walls. Let it dry to the manufacturer's recommended recoat time before sanding lightly with 180–220 grit to knock down any nubs or texture, then wipe clean.
80%
Of paint failures traced to poor surface prep
Industry painting contractors commonly estimate that the majority of premature paint failures—peeling, bubbling, or adhesion loss—originate in inadequate surface preparation rather than paint quality.
2×
Longer expected lifespan with proper priming
Priming porous or repaired surfaces before finish coating is widely recognized by paint manufacturers as the single largest factor in extending the service life of an interior paint job.
Always wash walls before sanding or patching.
Sand and feather every patched area to a perfectly flush surface before priming.
Spot-prime all patches and bare drywall before applying a full primer coat.
Cut in and roll each section while both coats are wet.
Apply two thin finish coats rather than one thick coat.
Stage 4: Cutting In and Rolling
Application order within each coat is: cut in first, roll second, while the cut-in edge is still wet. Cutting in means using a 2–2.5 inch angled brush to paint a 2–3 inch band along all edges—ceiling line, baseboards, trim, and corners—where a roller cannot reach cleanly. Work in sections of roughly four to six feet at a time rather than cutting in the entire room before rolling.
Roll each section immediately after cutting in so the two wet layers blend together. If the cut-in edge dries before you roll up to it, the overlap will leave a visible ridge called a lap mark. Use a 3/8 to 1/2 inch nap roller cover for smooth or lightly textured walls, and maintain a wet edge throughout by working in a consistent W or M pattern without lifting the roller mid-stroke.
Apply two coats, allowing adequate drying time between them as specified on the paint can. Resist the urge to apply a thick single coat—thin coats level better, dry more evenly, and produce a harder, more durable film. For guidance on selecting colors that complement your space's existing finishes and wood elements, see our article on mixing wood tones.
The content provided on our blog site traverses numerous categories, offering readers valuable and practical information. Readers can use the editorial team’s research and data to gain more insights into their topics of interest. However, they are requested not to treat the articles as conclusive. The website team cannot be held responsible for differences in data or inaccuracies found across other platforms. Please also note that the site might also miss out on various schemes and offers available that the readers may find more beneficial than the ones we cover.