
Why Grout Cracks and How to Address It Properly

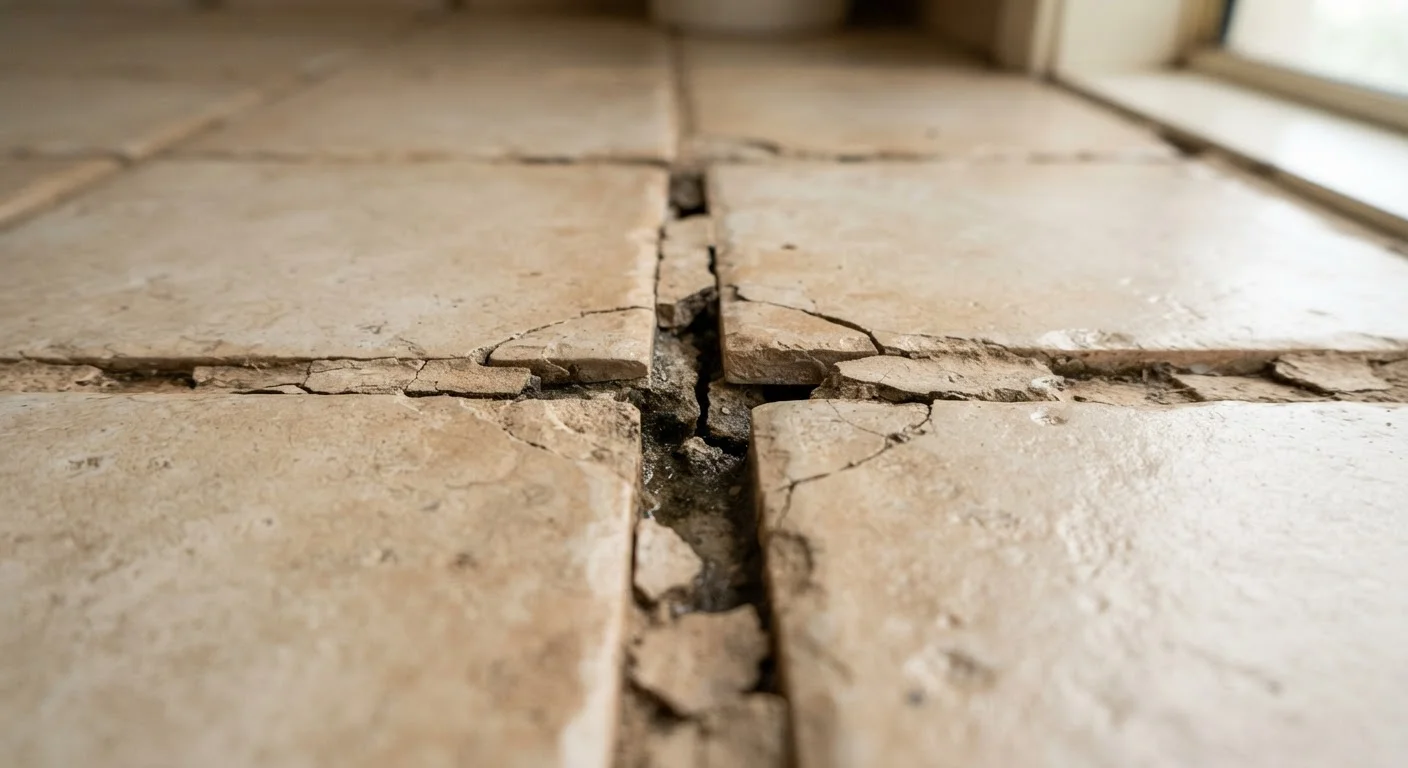
Photo: FaqsBay.com | Trending Blogs, Top Genres editorial
Key Takeaways
- Grout cracks are often caused by movement, improper mixing, or inadequate surface preparation — not just age.
- Regrouting over existing cracked grout without removing it will not produce a lasting repair.
- Matching grout type and color to the original installation prevents future cracking and aesthetic mismatch.
- Flexible caulk, not grout, belongs in corners and expansion joints where two surfaces meet.
- Persistent or widespread cracking may indicate a structural issue that warrants professional evaluation.
Why Grout Cracks in the First Place
Grout is a rigid material, and that rigidity is both its strength and its vulnerability. When the surfaces beneath tile shift — even slightly — grout absorbs the stress and eventually fractures. This movement can come from subfloor flex, seasonal expansion and contraction of building materials, or vibration from foot traffic over time.
Beyond structural movement, installation errors are a leading contributor. Grout that was mixed too wet, applied before the tile adhesive fully cured, or insufficiently sealed is far more likely to crack prematurely. Understanding the root cause matters before you attempt any repair — otherwise the problem will return.
⅛"
Minimum grout removal depth for reliable rebonding
Industry tile installation guidelines generally recommend removing existing grout to at least one-eighth of an inch to ensure adequate adhesion for new grout.
48–72 hrs
Cure time before sealing grout
Most grout manufacturers specify a minimum of 48 to 72 hours of curing time before a penetrating sealer should be applied in normal temperature and humidity conditions.
Common Mistakes Homeowners Make — and How to Avoid Them
Addressing cracked grout seems straightforward, but a handful of recurring errors turn a simple fix into a recurring frustration. Avoiding these mistakes is the key to a repair that actually holds.
Applying new grout directly over existing cracked grout without removing the old material first.
Using grout in corner joints and the junction between the floor and wall instead of flexible caulk.
Skipping the step of identifying and fixing the source of movement before regrouting.
Mixing grout to an inconsistent or overly wet consistency to make application easier.
Cleaning grout haze too aggressively or too soon after application, pulling grout out of the joints.
Choosing the Right Grout and Doing the Repair Correctly
Once the old grout is fully removed and the underlying cause addressed, selecting the right replacement grout is critical. Sanded grout suits joints wider than ⅛", while unsanded grout is appropriate for narrower joints and polished tile surfaces that could be scratched. Epoxy grout offers superior water and stain resistance for high-moisture areas like showers, though it requires more careful application and faster working time.
When mixing, follow the manufacturer's water-to-powder ratio precisely. Under-watered grout is crumbly; over-watered grout shrinks as it dries, both of which cause cracking. Apply with a float held at a 45-degree angle, working diagonally across the joints. Allow the grout to firm up — typically 15 to 30 minutes depending on conditions — then clean with a damp sponge in a circular motion.
Don't Let Cracked Grout Sit Near Water
Seal the finished grout after it has cured fully, generally 48 to 72 hours after application. A penetrating sealer helps repel moisture and prolongs the repair significantly in wet environments.
The content provided on our blog site traverses numerous categories, offering readers valuable and practical information. Readers can use the editorial team’s research and data to gain more insights into their topics of interest. However, they are requested not to treat the articles as conclusive. The website team cannot be held responsible for differences in data or inaccuracies found across other platforms. Please also note that the site might also miss out on various schemes and offers available that the readers may find more beneficial than the ones we cover.